1. Login into the account
2. Create a stream
3. Access the stream
4. Verify data
5. Provide access data to the guest
6. Public page
7. Moderate
8. Guest instructions
9. Finish
***
1. Login into the account
The account can be accessed through the login page:
https://www.dilmot.com/login
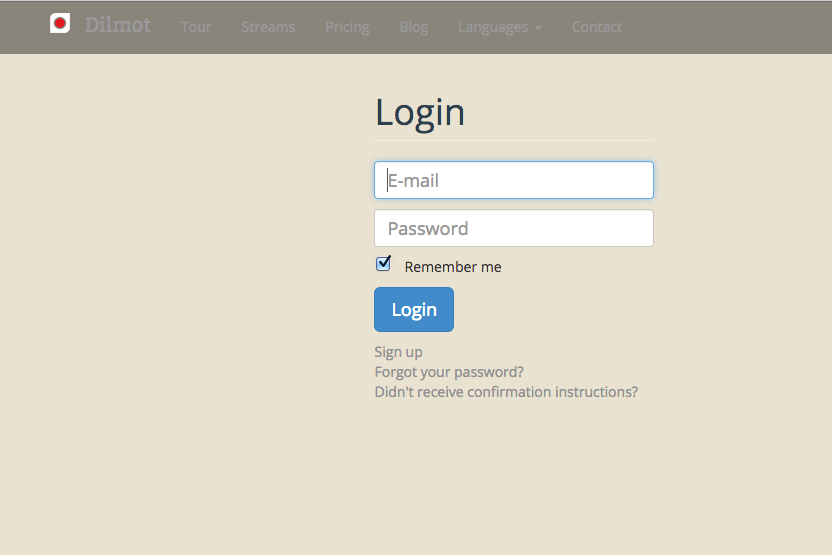
Login into your Dilmot account
2. Create the stream
In the list of streams, you will see a button to create a new stream:
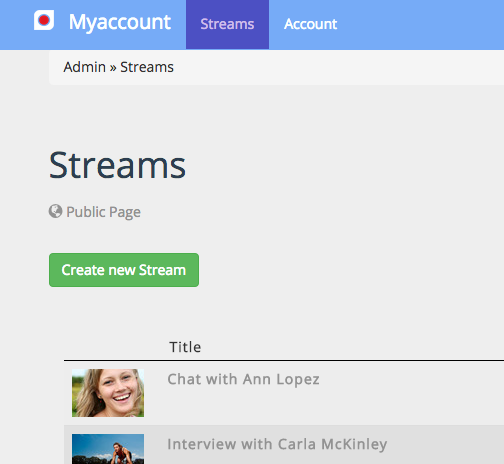
Click the new stream button to initiate the wizard
In a simple to follow wizard you will be able to enter all the relevant information. If you don’t have it at this point, no problem you can fill it in later on.
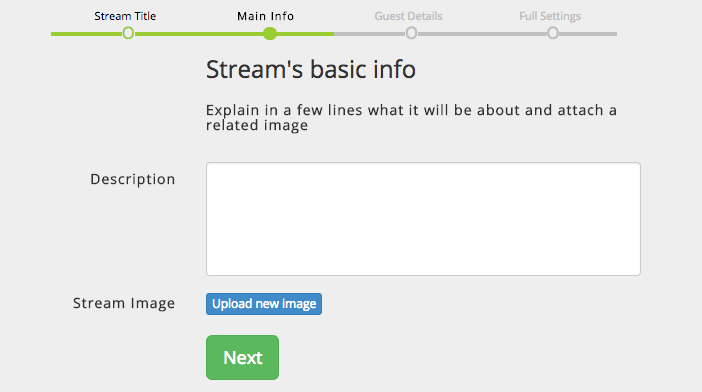
4-step wizard to create a new stream in Dilmot
3. Access the stream
When you login into the account, you will see the list of streams, or if it is the first time you login, it will be empty.

List of streams presented in the account admin page
When you click the stream you are interested in, you will see the admin page with the questions panel

Stream panel with questions
Starting by the upper part of the page, you can see the title. Under the title, there is a link to see the public page, and another one to see the page used for the guest to respond.
On the right hand side there are 3 buttons:
Add question: We can add a question from here. The other way of doing so is from the public page, where the readers can send their questions.
Comment: This action is used to publish a message freely, this means, not related to any particular question. It is used for such things as writing a welcome message, a farewell message and any other messages that we wish to publish at any point.
Close Stream / Open Stream: While the stream is open (the default state when the stream is created) questions can be received and answered. When it is closed they can not either be received or answered.
In the stream panel, there are several tabs:
Incoming: this is where the incoming questions are seen.
Published: the answered questions will be shown here, as well as the comments made
Deleted: the place where the deleted questions remain.
In case you are managing a Pro account, you may moderate the questions that the guest will see. This is an option inside the settings page. When this option is selected, there will be an additional tab placed to the left:
Pending: these are received questions that the guest will not see unless the moderator (admin) approves them
On the right hand side, there is the button “Panel” pressed. There is also the option “Settings” where you can see the stream data.
4. Verify the stream data
Inside the settings page, we have the following items:
Stream information:
Title: This is the title that will display on top and that will be in the listings. Note that changing the title will change the url of the stream, so make sure you are spelling it correctly.
Description: Enter a brief description of what the Q&A will be about. Extension above 1000 characters will be hidden, but can be seen clicking the button “more”.
Date/Time: This option allows you to announce the date and time of the stream. This is an optional field. And if you decide to set a date/time, note that it will not change at all the way the application works. It is only an informative field.
Twitter: If you wish to receive questions from Twitter, you can choose the hashtag that will be used for importing the questions. For example, if you choose #questionsMrSmith all the tweets with that hashtag will be placed as incoming questions.
Numbering: Add a number to the question, that will be shown in the admin panel, in order to facilitate referring to questions.
Notifications: You can receive daily notifications or every time a question is received
Moderate questions: It allows to accept or reject questions that we would like the Guest to see in her panel. If this option is selected, the tab “Pending” will be shown in the panel, and the questions that have to be approved or rejected will be shown there.
Privacy: You can protect the stream with a password
Stream image: This is the image that will be shown on the header of the stream
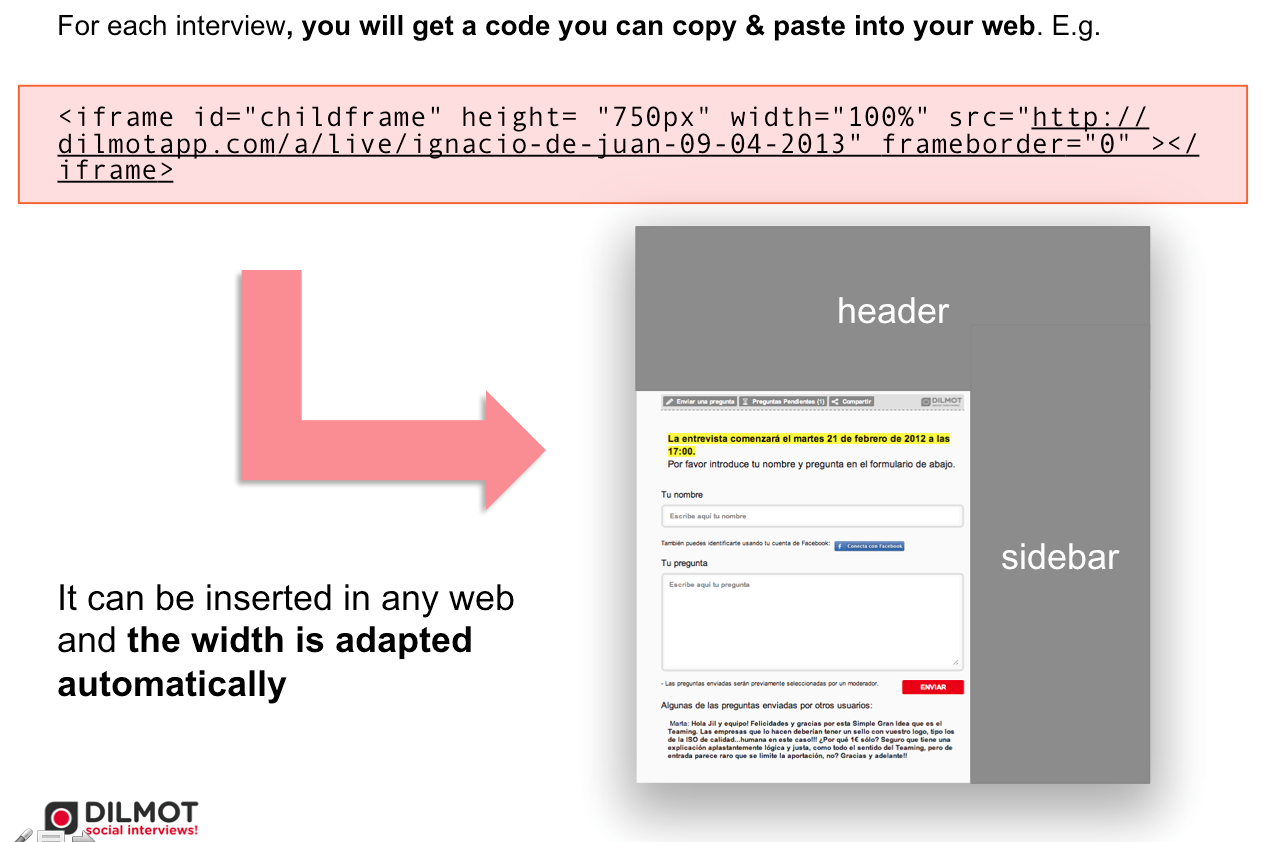
Embed code: The stream can be embedded in another web, by simply inserting the html code provided.
Guest infomation: In this section, everything related to the guest will be shown. The guest is the person that will answer to the questions
Name: Put the name of the guest, if you leave it blank, her answers will appear as “guest”
Guest avatar: Image associated to each answer or comment done by the guest.
Access data for the guest: The secret link will allow the guest to access the panel to answer the questions. This link should only be shared with the person who will answer the questions. In order to do so, there is a simple way to send this link to the chosen e-mail, directly from the same page.

Stream settings page for a Dilmot Q&A
5. Provide access data to the Guest
In the section Guest information you can find the secret link that should be sent to the guest so she can access the guest panel and start answering.
6. Public page
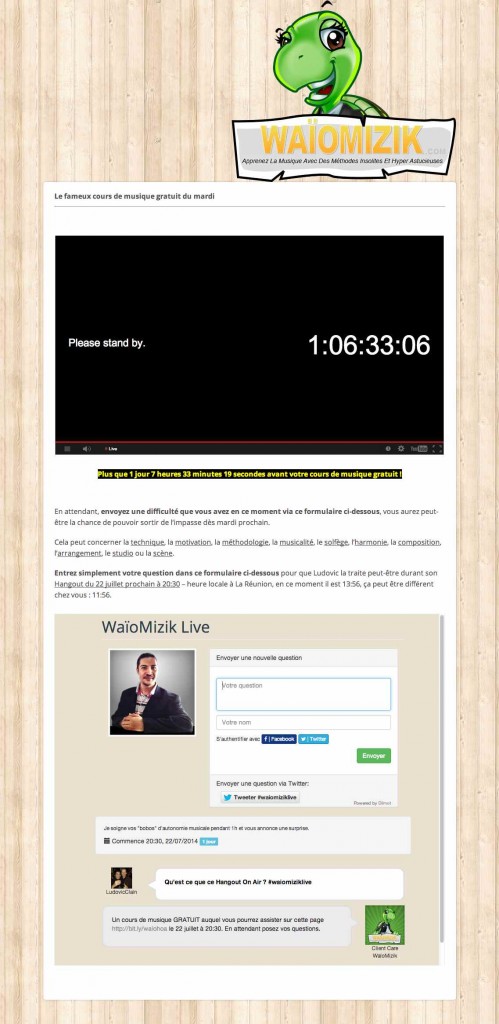
The website readers will see the public page, from which they can send their questions and also follow the stream live, without the need of refreshing the browser.
In case the streams are not set as private (Pro account feature), they will be listed in the public page of the account:
http://xxxxxxxx.dilmot.com/ where “xxxxxxxxx” is the name of your account.
When they choose the stream they want to follow, the stream page will be similar to this one:
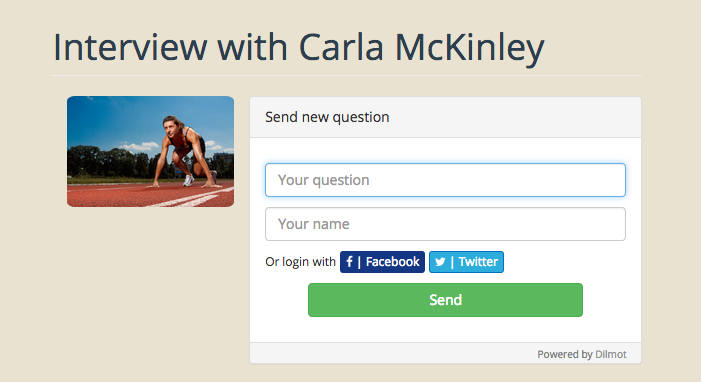
Form to send a question in Dilmot Q&A
In case the stream is set as private, they will not be shown in the list. So you will have to notify the readers about the page where they have to login with the password you have predefined earlier in the settings page.
7. Moderate

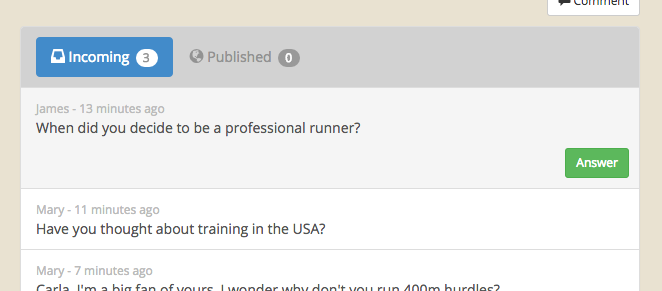
Moderation panel for the Q&A stream
In the tab “Incoming” you will see all the questions received. In case the stream is set in order to moderate the questions, then you will see an additional tab, “Pending” to the left of the “Incoming”. In the “Pending” you will find all the questions that have to be approved or rejected before they are shown to the guest and also to the public (if you have selected to show to the public questions before they are answered, which is a Pro account feature).
8. Guest instructions
As discussed earlier, the Guest will have to access with the secret url that the admin has to give her. Once the Guest clicks on the link, she will be led directly to the page we see below. It is a simpler version of the questions panel. There are only two tabs, “Incoming” and “Published”.

Guest view of the Q&A panel
In the “Incoming”, the guest has to select to answer the question that she is going to answer, clicking on “Answer”. When she finishes answering, then click on “Save” so that the answer goes public.
The way the guest can answer a question in a Q&A
Besides answering questions, the Guest may also add comments, by clicking on the button “Comment”. Comments can be used to write a welcome message, a farewell message or any other message they want to may public during the chat.
The Guest can also see the “Published” questions with the corresponding answer and if needed, edit the answer to correct typos or add anything forgotten.
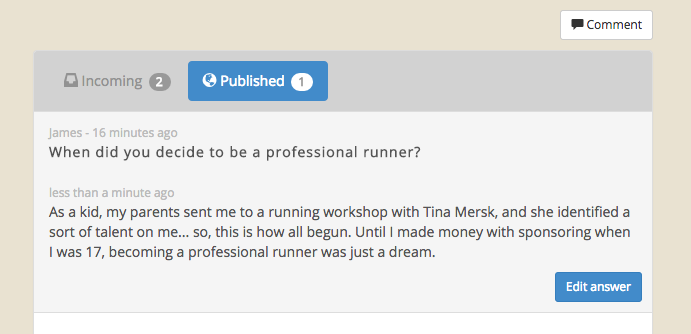
The guest may also edit answers after they have been published
9. Finish
If the stream has a set duration, you can, and it is encouraged to close the stream, so that the questions shown to the public get reordered in the oldest first order, so the stream can be read in the time sequence that it took place. If you decide to continue with the stream at any time, you can always open the stream again.
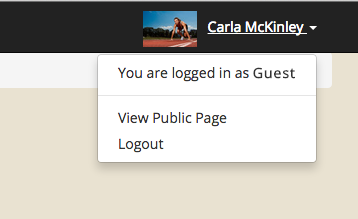
The guest can logout when the Q&A is finished